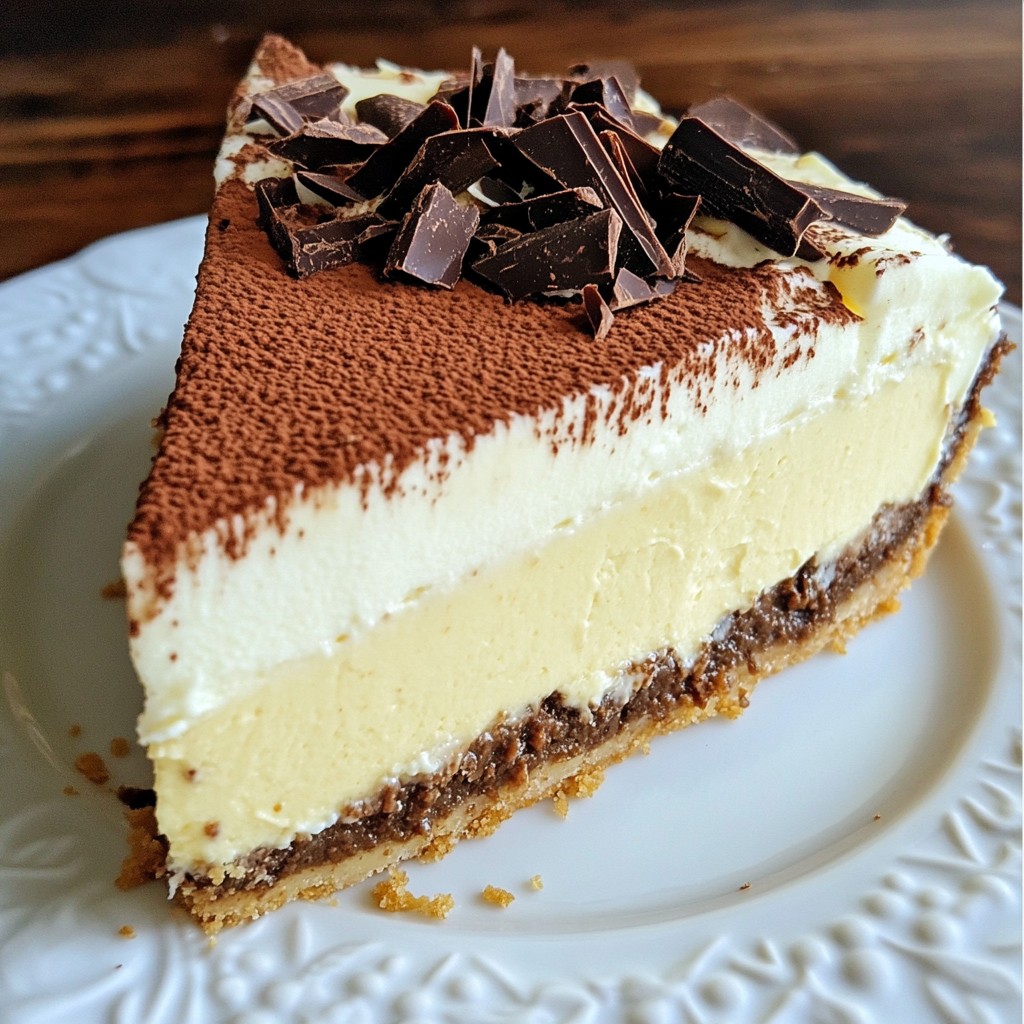
Are you craving a sweet treat that’s both simple and delicious? Let me introduce you to Classic Cannoli Squares! This delightful dessert combines creamy filling with a tender crust, making it a perfect addition to any gathering. I’ll guide you through each step, from gathering the right ingredients to tips for perfecting the texture. Get ready to impress friends and family with this easy yet indulgent dish!
Why I Love This Recipe
- Decadent Flavor: These squares bring the rich, creamy flavors of traditional cannoli to a convenient, bite-sized treat.
- Easy to Make: No deep-frying or complicated techniques required, making it perfect for bakers of all skill levels.
- Perfect for Sharing: With 16 servings, these squares are ideal for parties, gatherings, or family dessert nights.
- Customizable Delight: Feel free to experiment with different mix-ins like nuts or fruit to make them uniquely yours!
Ingredients
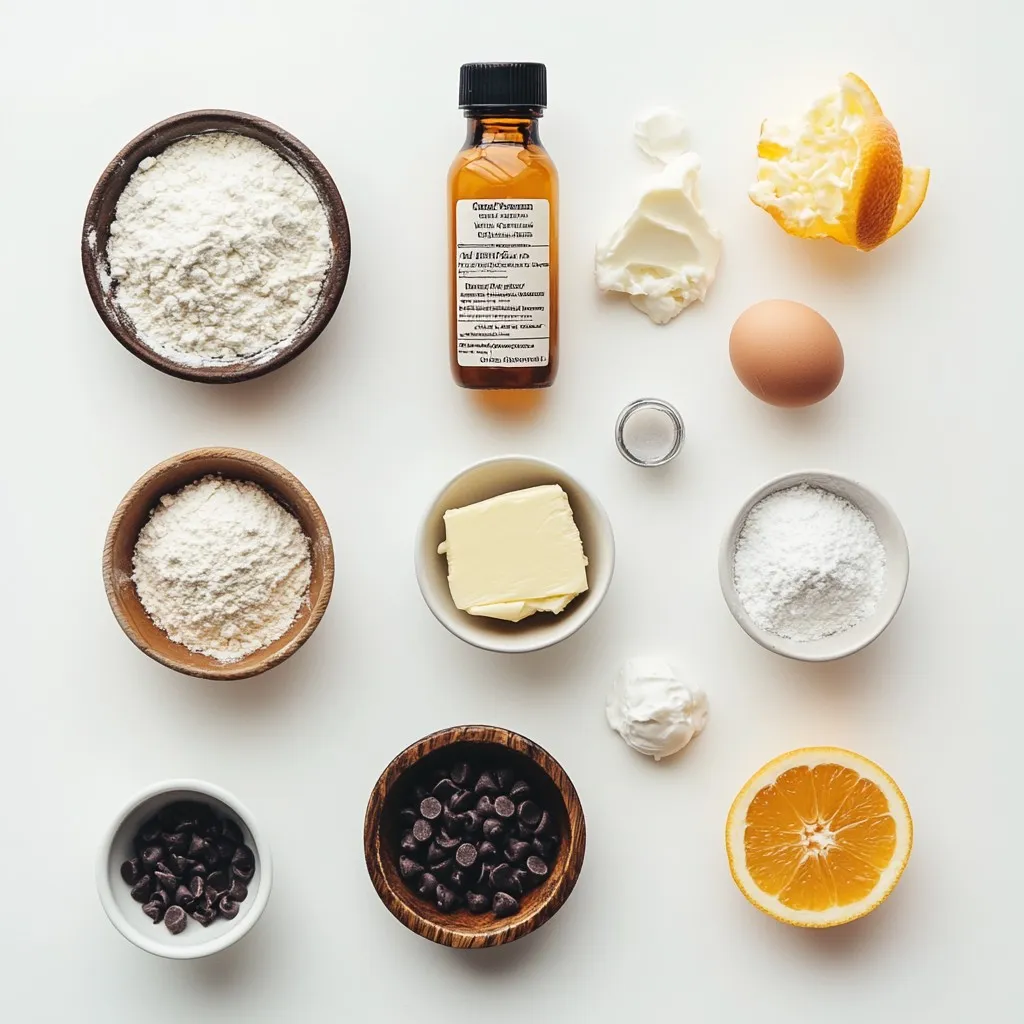
To make Classic Cannoli Squares, you need simple, fresh ingredients. Each one adds to the rich flavor. Here’s what you will need:
– 1 cup all-purpose flour
– 1/4 cup granulated sugar
– 1/4 cup unsalted butter, softened
– 1 large egg
– 1/2 teaspoon pure vanilla extract
– 1/2 teaspoon baking powder
– 1/4 teaspoon fine sea salt
– 1 cup ricotta cheese, well-drained
– 1/4 cup mascarpone cheese
– 1/2 cup powdered sugar (plus extra for dusting)
– 1/2 teaspoon ground cinnamon
– 1/3 cup mini chocolate chips
– Zest of 1 medium orange
These ingredients work together to create a creamy filling and a light, sweet crust. The ricotta cheese gives it that classic cannoli taste. The mascarpone adds a rich, smooth texture. The orange zest and cinnamon enhance the flavors, making each bite a delight. Use good quality butter and fresh eggs for the best results. Gather these items before you start cooking, and you will be ready to impress!
Step-by-Step Instructions
Preparation of the Crust
1. Start by preheating your oven to 350°F (175°C). This step is key for a good bake.
2. In a large bowl, cream together 1/4 cup of softened unsalted butter and 1/4 cup of granulated sugar. Use a hand mixer or whisk for about 3-5 minutes. The mix should turn light and fluffy.
3. Next, add in 1 large egg and 1/2 teaspoon of pure vanilla extract. Also, mix in 1/2 teaspoon of baking powder and 1/4 teaspoon of fine sea salt. Blend these until smooth.
4. Gradually sift in 1 cup of all-purpose flour. Mix it gently until a soft dough forms. Avoid overworking the dough.
Baking the Crust
1. Take the dough and press it evenly into the bottom of an 8×8-inch baking pan. Make sure it’s smooth.
2. Bake in the preheated oven for about 15 minutes. The edges should turn light golden brown.
3. Once baked, let it cool in the pan for 10 minutes. Then, transfer it to a wire rack to cool completely.
Preparing the Filling
1. While the crust cools, prepare the filling. In a separate bowl, combine 1 cup of well-drained ricotta cheese and 1/4 cup of mascarpone cheese.
2. Add in 1/2 cup of powdered sugar, 1/2 teaspoon of ground cinnamon, 1/3 cup of mini chocolate chips, and the zest of 1 medium orange. Mix until creamy and smooth, with no lumps.
Assembling the Squares
1. Once the crust is completely cooled, spread the ricotta mixture evenly on top. Use a spatula for a smooth layer.
2. Cover the pan with plastic wrap or aluminum foil. Chill in the fridge for at least 1 hour. This helps the filling firm up for easy cutting.
Tips & Tricks
Achieving the Perfect Texture
For great cannoli squares, start with room temperature ingredients. This helps the butter mix well with sugar. When you blend them, they become light and fluffy. For a smooth filling, make sure to drain the ricotta cheese well. This keeps the filling from being watery. Mix the ricotta with mascarpone and sugar until it’s creamy. No lumps should be in the mixture.
Common Mistakes to Avoid
One common mistake is overmixing the dough. This can make your crust tough. Mix just until the dough comes together. Another mistake is not cooling the crust properly. If it’s warm when you add the filling, it can melt. Let the crust cool completely so the filling stays firm.
Presentation Ideas
Serve your cannoli squares on a nice plate. This makes them look even more inviting. Garnish with fresh mint leaves for a pop of green. You can also sprinkle extra mini chocolate chips on top. For extra fun, serve with a small bowl of chocolate sauce. This way, everyone can drizzle their own!
Pro Tips
- Use High-Quality Ingredients: The flavor of your cannoli squares greatly depends on the quality of your ricotta and mascarpone. Choose the freshest, creamiest cheeses for the best results.
- Chill Thoroughly: Allowing the squares to chill in the refrigerator for at least an hour helps the filling set properly, making it easier to cut into neat squares.
- Experiment with Flavors: Feel free to add other extracts like almond or lemon zest to the filling for a unique twist on traditional cannoli flavors.
- Presentation Matters: Dust with powdered sugar just before serving for an elegant touch. Consider drizzling with chocolate sauce for added visual appeal.
Variations
Flavor Variations
You can change the taste of your cannoli squares easily. Try adding different extracts or spices. A touch of almond extract can give a nice twist. You can also use cinnamon or nutmeg for warmth. If you want a fruity flavor, mix in some fruit purées. Raspberry or strawberry purée pairs well with the filling. These little changes can make your dessert exciting and fresh.
Dietary Modifications
If you have dietary needs, you can still enjoy cannoli squares. For gluten-free options, swap all-purpose flour with a gluten-free blend. Make sure it has a good structure for baking. If you want vegan adaptations, replace the egg with a flax egg. Use plant-based butter and substitute ricotta and mascarpone with vegan cheese. These swaps keep your dessert tasty and inclusive for everyone.
Serving Pairings
Pair your cannoli squares with fun accompaniments. Fresh fruit like berries complements the rich filling. You can also serve them with a dollop of whipped cream. For drinks, coffee or espresso works well. A sweet dessert wine can also enhance the flavors. These pairings can elevate your dessert experience and impress your guests.
Storage Info
Refrigeration Guidelines
You can store your cannoli squares in the fridge for about 3 to 5 days. Make sure you cover them well to keep them fresh. I recommend using plastic wrap or aluminum foil. This helps keep the squares moist and prevents them from absorbing other odors in the fridge.
Freezing Cannoli Squares
To freeze your cannoli squares, first, cut them into squares. Place them in a single layer in a freezer-safe container. You can also use a baking sheet to freeze them first, then transfer them to a container. These squares can last up to 2 months in the freezer.
When you are ready to enjoy them, take out only what you need. To thaw, simply leave them in the fridge overnight. If you need them faster, you can let them sit at room temperature for about 30 minutes. Enjoy your delicious treat!
FAQs
What are Classic Cannoli Squares?
Classic Cannoli Squares are a sweet treat inspired by the famous Italian cannoli. This dish combines a rich, creamy filling with a soft crust. The crust is made from flour, sugar, and butter, while the filling includes ricotta and mascarpone. Cannoli originated in Sicily, Italy. They were once made for special occasions. Now, these squares are a simpler way to enjoy the same great taste.
Can I make the filling in advance?
Yes, you can make the filling ahead of time. This can save you time before serving. Make the filling and store it in the fridge for up to two days. Just keep it in an airtight container. When ready, spread it over the cooled crust. This ensures the filling stays fresh and delicious.
How do I tell when the squares are done chilling?
You can tell the squares are ready when the filling feels firm to the touch. After about an hour in the fridge, check the texture. It should not be runny. If it holds its shape when you cut it, you are ready to serve. The chilling time helps the flavors blend well.
What can I use instead of ricotta cheese?
If you can’t find ricotta, try using cottage cheese. Just blend it until smooth. You can also use cream cheese or mascarpone alone. These options keep the texture creamy and delicious. Choose based on what you have on hand.
We’ve explored all the key elements to create amazing cannoli squares. You learned about vital ingredients like ricotta and chocolate chips. I broke down each step, from prepping the crust to chilling. Keep in mind the tips to avoid common mistakes and achieve perfect texture.
With variations and storage tips, you can make these treats your own. I hope you feel ready to impress yourself and others with your baking! Enjoy every bite of your delicious creatio