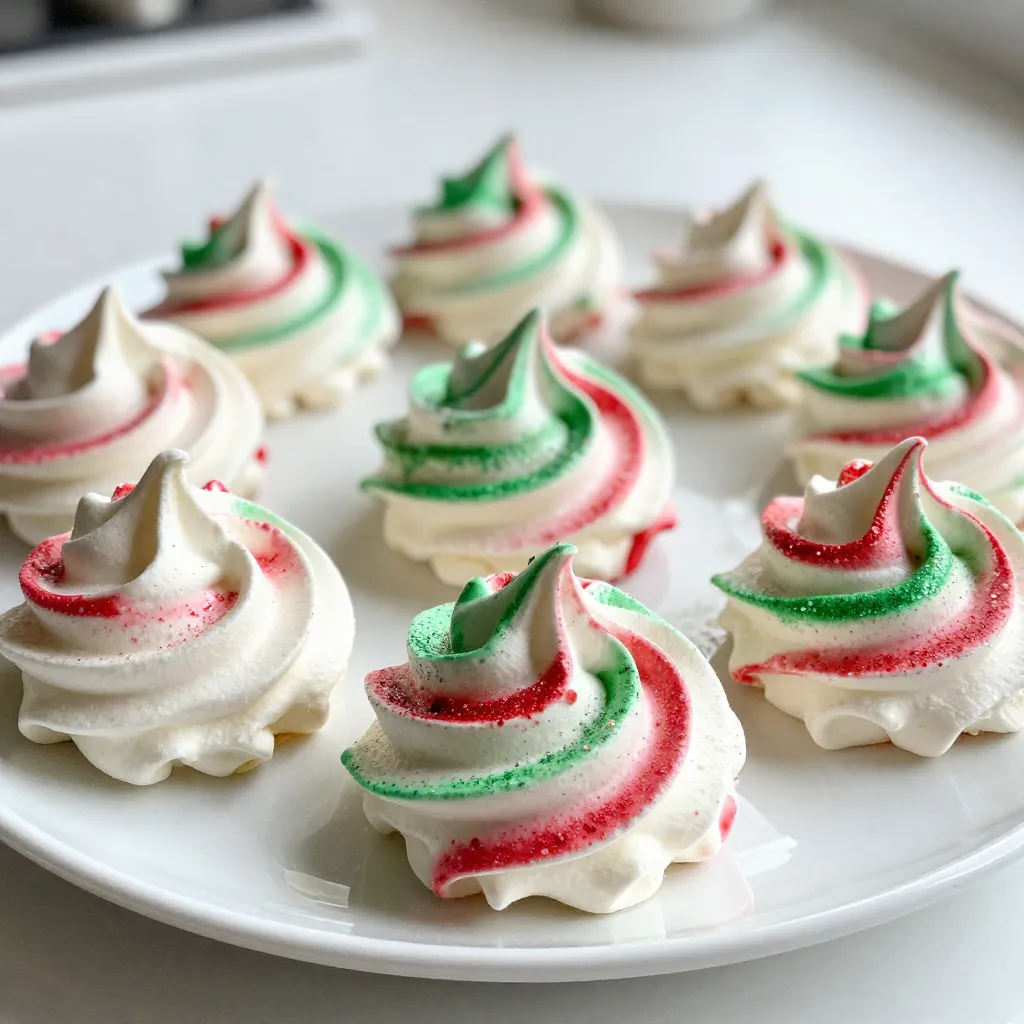
If you’re looking for a festive treat that will impress family and friends, you’ve come to the right place! Christmas meringue kisses are light, sweet, and perfect for the holiday season. You can easily make them at home with simple ingredients and step-by-step instructions. In this article, I’ll share tips, tricks, and delicious flavor variations to elevate your holiday treats. Let’s dive in and create these delightful meringue kisses together!
Why I Love This Recipe
- Delightfully Festive: These meringue kisses add a charming touch to any holiday gathering with their vibrant colors and sweet flavors.
- Easy to Make: The straightforward steps make these meringue kisses a fun activity for bakers of all skill levels.
- Perfect for Gifting: Packaged in a decorative tin, these kisses make a thoughtful homemade gift that spreads holiday cheer.
- Customizable: With options for different flavors and colors, you can tailor these kisses to suit your festive theme or personal taste.
Ingredients
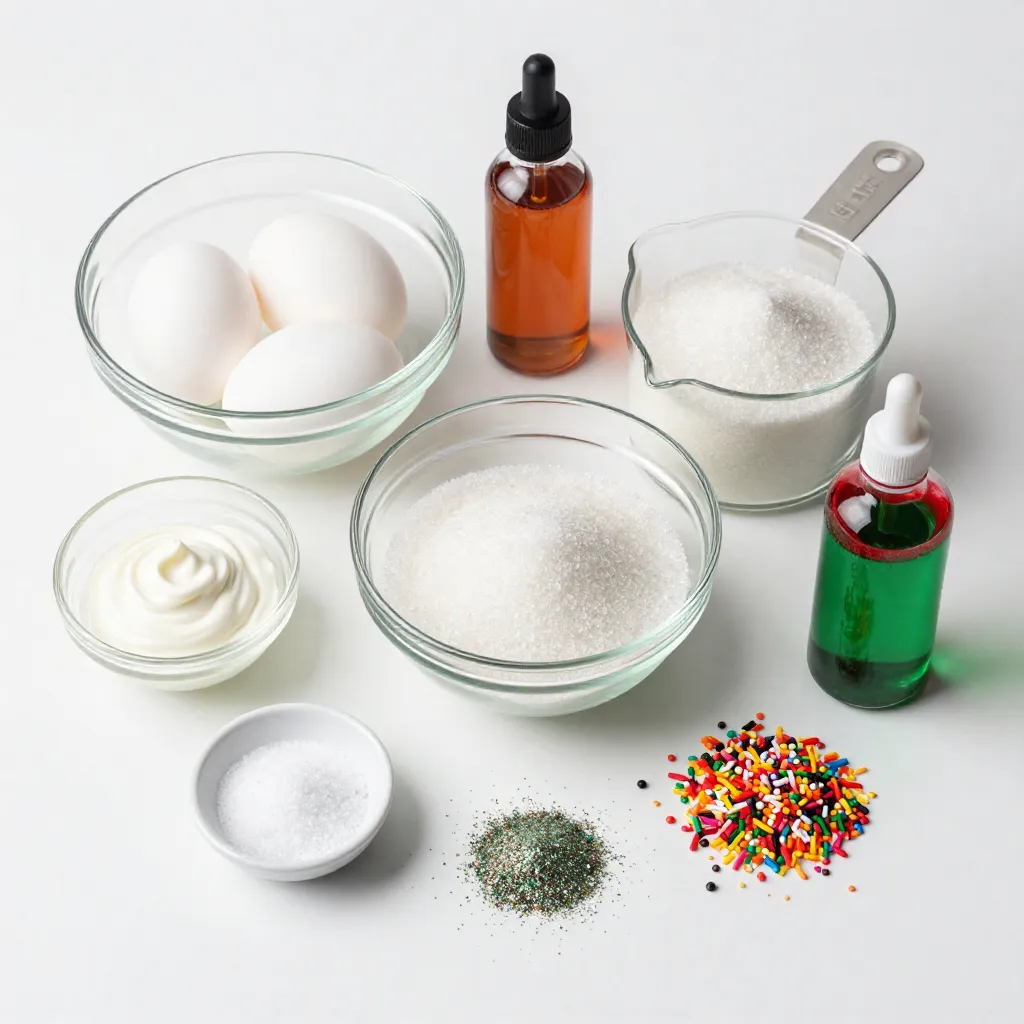
List of Ingredients
– 3 large egg whites
– 1/4 teaspoon cream of tartar
– 3/4 cup granulated sugar
– 1 teaspoon vanilla extract
– 1/2 teaspoon peppermint extract
– A pinch of salt
– Red and green food coloring (optional)
– Edible glitter or festive sprinkles (for decoration)
Required Equipment
To make Christmas meringue kisses, you need:
– Electric mixer
– Clean mixing bowl
– Baking sheet
– Parchment paper
– Piping bag with a star tip
– Rubber spatula
Substitutions for Ingredients
You can make some swaps if needed:
– Use lemon juice instead of cream of tartar for stability.
– Try almond extract for a different flavor.
– If you lack food coloring, leave them white for a classic look.
– Use granulated stevia or monk fruit for a low-sugar option.
This list will help you get ready for a fun, festive kitchen adventure. Each ingredient plays a part in making your meringue kisses light and sweet.
Step-by-Step Instructions
Preparing the Oven and Baking Sheet
First, preheat your oven to 200°F (93°C). This low heat helps the meringue dry out slowly. While the oven warms up, prepare your baking sheet. Line it with parchment paper for easy removal. If you want uniform kisses, draw circles about one inch wide on the paper with a pencil. This will guide your piping.
Whipping Egg Whites
Next, take your clean mixing bowl. Add the three large egg whites to the bowl. Use an electric mixer on medium speed to whip the egg whites. Keep whisking until they become foamy. At this point, add 1/4 teaspoon of cream of tartar. Increase the speed to high. Whip until soft peaks form. The peaks should bend over gently.
Now, it’s time to add the sugar. Gradually sprinkle in 3/4 cup of granulated sugar, one tablespoon at a time. Keep whisking on high speed. This will make the meringue glossy. Keep going until you see stiff peaks. This usually takes about 5 to 7 minutes.
Folding in Flavorings and Color
When your meringue is ready, it’s time to add flavor. Gently fold in 1 teaspoon of vanilla extract and 1/2 teaspoon of peppermint extract. Use a rubber spatula for this. Be careful not to deflate the air you whipped in.
If you want color, divide the meringue into two bowls. Add a few drops of red food coloring to one bowl and green to the other. Mix carefully. You can leave one bowl uncolored for a pretty marbled look.
Now, prepare a piping bag with a star tip. Pipe small kisses onto the lined baking sheet. Use circular motions to create swirls or peaks. This will make your meringues look festive and fun!
Finally, place the baking sheet in the oven and bake the kisses for 1.5 to 2 hours. They should feel dry and lift off easily. After baking, turn off the oven. Leave the kisses inside for another hour. This helps them keep their shape.
Once cooled, sprinkle on edible glitter or festive sprinkles. This adds a lovely touch of holiday magic!
Tips & Tricks
Achieving the Perfect Texture
To get the best meringue kisses, start with fresh egg whites. They should be at room temperature. This helps them whip better. Make sure your mixing bowl is clean and dry. Any grease can ruin your meringue. Whip until you see soft peaks first. Then, slowly add sugar. This step is key for a smooth texture.
Common Mistakes to Avoid
A common mistake is rushing the sugar addition. Add it slowly, one tablespoon at a time. If you add sugar too fast, the meringue may not set. Also, avoid over-whipping. If peaks look dry or crumbly, you’ve gone too far. Lastly, don’t skip the cooling time in the oven. This keeps your kisses firm.
Baking Time and Temperature Adjustments
Baking at a low temperature is crucial. Set your oven to 200°F (93°C). If your kisses brown, your oven is too hot. Bake for 1.5 to 2 hours. They should feel dry and lift easily. If they feel sticky, they need more time. Cool them in the oven to set their shape.
Pro Tips
- Fresh Egg Whites: For the best volume and stability, use fresh egg whites at room temperature. This allows them to whip up more easily and achieve the desired stiff peaks.
- Preventing Humidity: Meringues are sensitive to moisture. Make sure to prepare them on a dry day, and store them in an airtight container to keep them crisp.
- Coloring Technique: When adding food coloring, use gel-based colors for a more vibrant hue. Avoid liquid colors as they can alter the meringue’s consistency.
- Cooling Time: Allow the meringue kisses to cool in the oven after baking. This helps prevent cracking and ensures they retain their shape.
Variations
Flavor Variations (Peppermint, Gingerbread, etc.)
You can create many flavors for your meringue kisses. Peppermint is a classic choice, adding a fresh zing. Just mix in a bit of peppermint extract, and you’re set. For a cozy twist, try gingerbread flavor. You can add ground ginger, cinnamon, and nutmeg to the meringue. This will give your kisses a warm, festive taste.
You can also explore vanilla, almond, or even chocolate flavors. For chocolate, fold in cocoa powder at the end. The options are endless, so feel free to get creative!
Color Techniques for Presentation
Coloring your meringue kisses makes them even more festive. You can use red and green food coloring for a classic Christmas look. Divide your meringue into two bowls and add drops of color to each. Then, use a spatula to fold in the color gently. This creates a marbled effect that is eye-catching.
If you like, you can also layer colors in your piping bag. Start with one color, then add another. When you pipe, you will get a beautiful swirl of colors.
Decorating Ideas with Sprinkles and Edible Glitter
Once your meringue kisses cool down, it’s time to decorate! Edible glitter adds a magical touch. Just sprinkle it on top of the kisses for a sparkling effect.
Festive sprinkles also work great. Use holiday-themed sprinkles, like snowflakes or stars. You can even dip the bases of the kisses in melted chocolate and then in sprinkles. This adds a crunchy, sweet layer to your meringue.
These fun decorations make your treats shine and look delightful on any holiday table!
Storage Info
Storing Meringue Kisses
To keep your meringue kisses fresh, store them in an airtight container. I like to layer them with parchment paper to prevent sticking. This simple step helps maintain their texture. If you leave them exposed, they can become chewy and lose their crispness.
Best Practices for Freshness
Keep the container in a cool, dry place. Avoid areas with high humidity. Meringue kisses love dry air! If you live in a humid area, consider using silica gel packets in the container. They absorb moisture and help keep the kisses crunchy.
How Long They Last
When stored properly, meringue kisses can last up to two weeks. However, I recommend enjoying them within the first week for the best taste and texture. If you have leftover kisses, they make a delightful gift for friends and family during the holiday season!
FAQs
Can I use egg substitutes for meringues?
Yes, you can use egg substitutes for meringues. Aquafaba is a great choice. It is the liquid from canned chickpeas. Use 3 tablespoons of aquafaba for each egg white. Whip it until it gets foamy. This helps create the same light texture as egg whites.
How do I know when meringue kisses are done?
Meringue kisses are done when they feel dry to the touch. They should lift off the parchment easily. This usually takes about 1.5 to 2 hours at 200°F (93°C). If you want to be sure, check for a crisp outer shell and a soft center.
What’s the best way to transport meringue kisses?
To transport meringue kisses, use a sturdy container. Place parchment paper between layers to avoid sticking. Keep them in a cool, dry place to prevent them from getting soggy. For extra care, use a sealed container to keep them safe.
To make meringue kisses, you need the right ingredients and tools. I shared tips on preparing your oven and baking sheet, whipping egg whites, and folding in flavors. I also covered how to avoid common mistakes and adjust baking times. You can try different flavors and decorations. Lastly, I explained how to store meringue kisses for the best taste. Enjoy making these treats, and remember, practice leads to perfectio