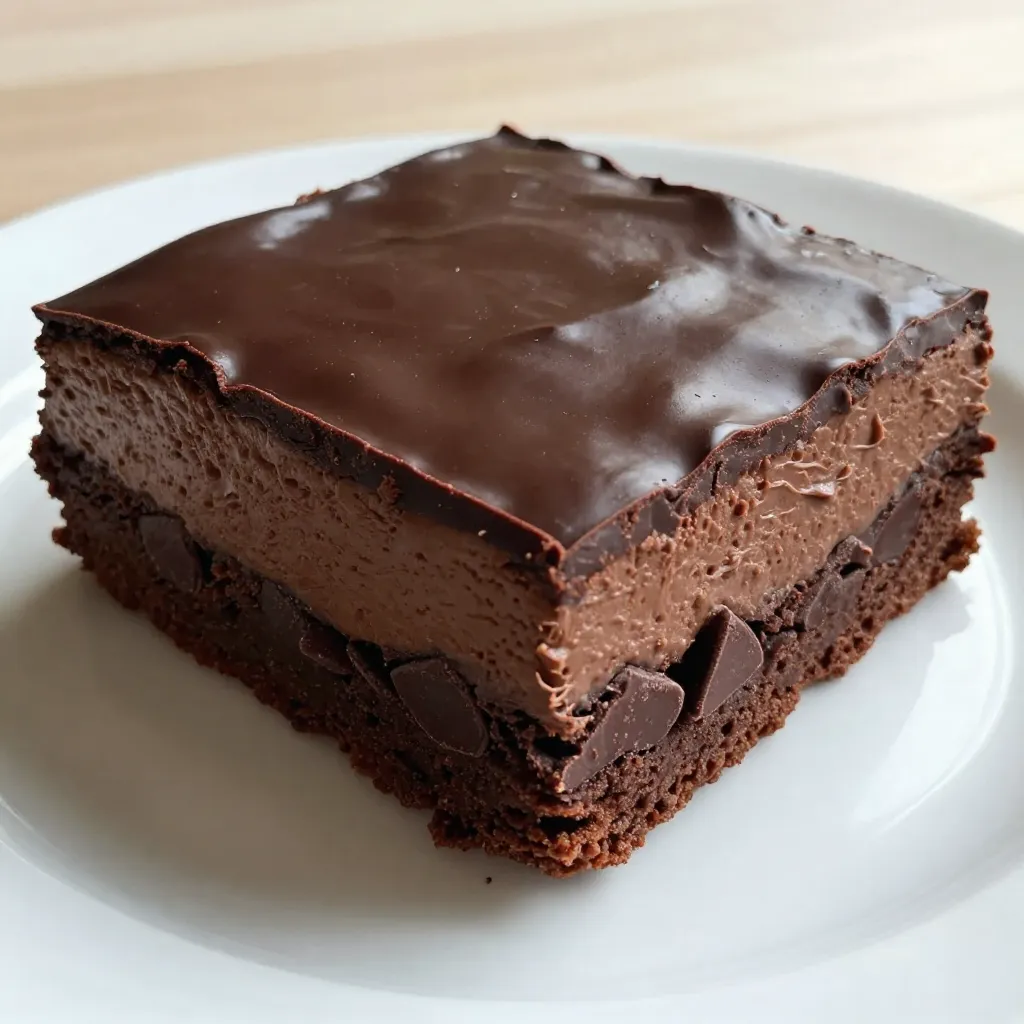
Are you ready for a dessert that will blow your mind? Chocolate Mousse Brownies are a heavenly treat that combines rich, fudgy brownies with a light, airy mousse. This recipe is simple and perfect for sharing. Whether it’s a special occasion or just a sweet craving, I promise you’ll want to keep this dessert in your kitchen. Let’s dive into the world of chocolate goodness!
Why I Love This Recipe
- Indulgent Flavor: This recipe combines rich chocolate brownie and airy mousse, creating a decadent dessert that satisfies any chocolate lover’s cravings.
- Easy to Make: Despite its luxurious taste, the steps are straightforward and beginner-friendly, making it accessible for home bakers of all skill levels.
- Perfect for Any Occasion: Whether it’s a birthday, holiday, or just a weekend treat, these brownies are sure to impress your guests and elevate any gathering.
- Customizable Toppings: With options like whipped cream, chocolate shavings, or fresh berries, you can easily personalize each serving to suit your taste or presentation style.
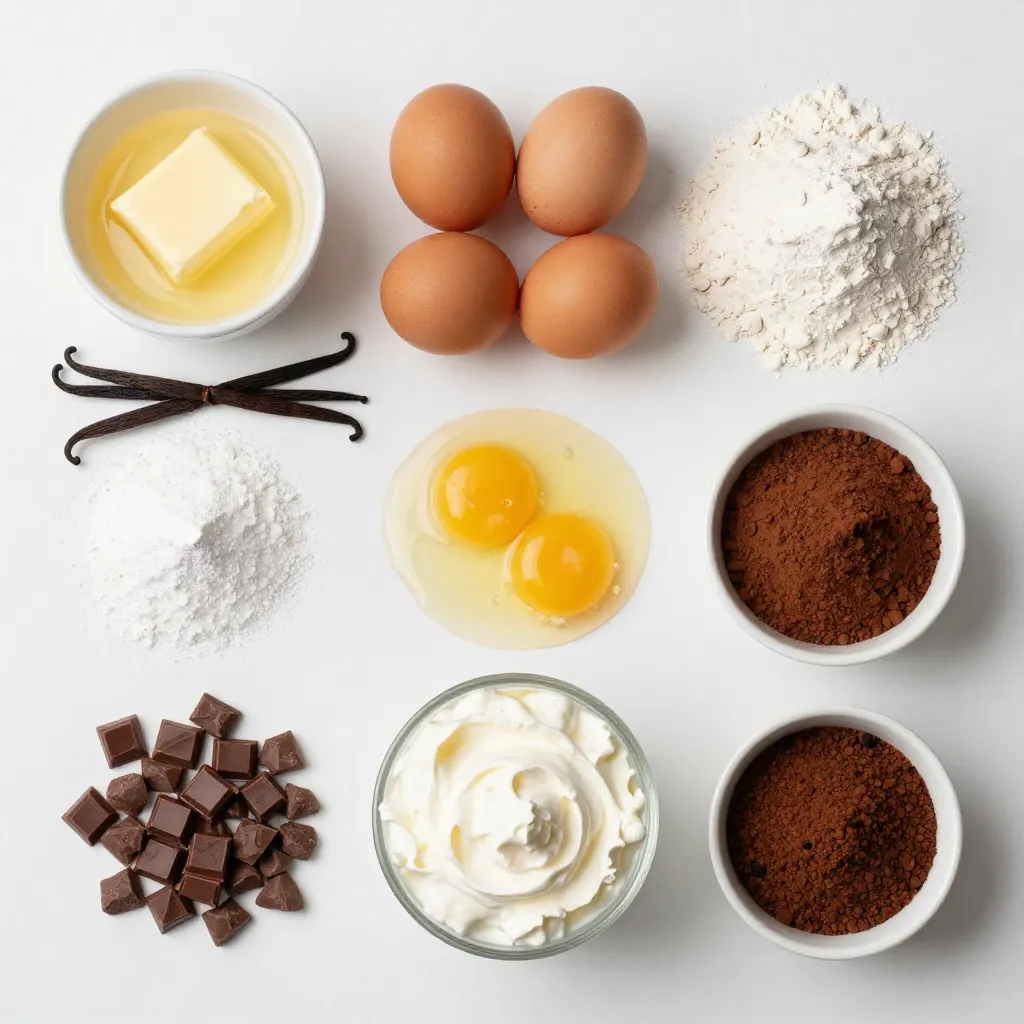
Ingredients
List of Main Ingredients
– 1 cup unsalted butter
– 1 cup granulated sugar
– 1 cup brown sugar
– 4 large eggs
– 1 teaspoon pure vanilla extract
– 1 cup all-purpose flour
– 1 cup unsweetened cocoa powder
– 1/2 teaspoon salt
– 1/2 teaspoon baking powder
– 1 cup semi-sweet chocolate chips
– 1 cup heavy cream
– 2 tablespoons powdered sugar
– 1 teaspoon instant coffee granules
Gather these ingredients before you start. Fresh, quality ingredients make a big difference. Unsalted butter gives a rich base. Granulated and brown sugars add sweetness and moisture. Large eggs create structure and richness. Pure vanilla extract boosts flavor. All-purpose flour and cocoa powder form the base. Salt and baking powder help with texture. Semi-sweet chocolate chips add more chocolatey goodness. Heavy cream is key for the mousse. Powdered sugar sweetens the mousse, while instant coffee granules can enhance the chocolate flavor.
Tools Needed
– Mixing bowls
– Whisk
– Baking pan (9×13 inch)
– Spatula
You need a few tools for this recipe. Mixing bowls help combine wet and dry ingredients. A whisk is perfect for blending. A 9×13 inch baking pan gives enough space for the brownies. A spatula is great for spreading and smoothing the mousse.
Substitutions
– Dairy-free alternatives
– Sugar substitutes
If you want dairy-free options, use coconut oil instead of butter. For cream, try coconut cream. You can swap granulated sugar with coconut sugar or a sweetener like stevia. These changes keep the taste great while meeting dietary needs. Always choose substitutes that fit your taste and health goals.
Step-by-Step Instructions
Preparing the Oven and Pan
Preheat your oven to 350°F (175°C). This ensures an even bake for your brownies. While the oven heats up, prepare your 9×13 inch baking pan. You can grease the pan with butter or spray. Alternatively, line it with parchment paper for easy removal later.
Making the Brownie Base
Start by mixing the melted butter with granulated and brown sugar. Use a whisk to blend until smooth. Next, add the eggs one by one. Make sure to whisk well after each egg. Finally, stir in the pure vanilla extract for extra flavor.
Baking and Cooling
Pour the brownie batter into your prepared pan. Use a spatula to smooth the top. Bake for 25 to 30 minutes. To check for doneness, insert a toothpick into the center. It should come out mostly clean, with a few moist crumbs. Once baked, let the brownies cool completely before adding the mousse layer. This step is key for a nice texture.
Tips & Tricks
Achieving the Perfect Brownie Texture
To get great brownies, avoid overmixing. When you mix too much, brownies can become tough. Instead, gently fold the dry mix into the wet mix. Stop when you see no more flour. Also, watch your baking time. Bake for 25 to 30 minutes. A toothpick should come out with a few moist crumbs, not wet batter.
Mousse Layer Tips
Whipping cream is key for light mousse. Use a cold bowl and cold beaters. Start slow, then increase the speed. Aim for soft peaks, which means the cream holds shape but is still soft. When adding the whipped cream to the brownies, fold gently. This keeps the mousse airy and smooth.
Presentation Ideas
Make your brownies look special with garnishes. A dollop of whipped cream on top adds charm. You can also sprinkle chocolate shavings or add fresh berries. For serving, cut the brownies into neat squares. Arrange them on a nice plate for a beautiful display.
Pro Tips
- Use Room Temperature Ingredients: Ensure that your eggs and butter are at room temperature to achieve a smoother batter and better incorporation, resulting in fudgier brownies.
- Don’t Overmix: When adding the dry ingredients to the wet, mix gently until just combined to prevent the brownies from becoming tough and chewy.
- Chill for Best Results: Allow the mousse to set in the refrigerator for at least 2 hours. This not only firms it up but enhances the flavors, making each bite more decadent.
- Elevate the Flavor: Adding instant coffee granules to the mousse enhances the chocolate flavor without making it taste like coffee. It’s a simple addition that makes a big difference!
Variations
Flavor Enhancements
You can make your chocolate mousse brownies even more exciting! Here are some fun ideas:
– Adding nuts or candies: Try folding in chopped walnuts, pecans, or even mini chocolate candies. This adds crunch and flavor.
– Infusing flavors: Want a twist? Add a few drops of peppermint extract or zest from an orange. These flavors brighten the dessert.
Dietary Variations
Everyone can enjoy these brownies! Here’s how:
– Gluten-free brownie recipe: Replace all-purpose flour with almond flour or a gluten-free blend. They will still taste amazing!
– Vegan mousse options: Use coconut cream instead of heavy cream. It whips up nicely and stays rich and creamy.
Different Serving Styles
Serving can be just as fun as making the dish. Here are some options:
– Brownie parfaits: Layer brownie pieces and mousse in a glass. Top with whipped cream and berries for a stunning treat.
– Mini mousse cups: Use small cups to serve single portions of brownie with mousse on top. It makes for a cute and easy treat to share!
Storage Info
Best Storage Practices
Store your chocolate mousse brownies in the fridge. Use an airtight container. This keeps them fresh and moist. If you want to freeze them, cut them into squares first. Wrap each piece in plastic wrap. Then, place them in a freezer bag. This way, they stay safe in the freezer.
Shelf Life
These brownies last about a week in the fridge. Check for any signs of spoilage. If you see mold, or if they smell bad, it’s time to toss them. Always trust your senses when checking food.
Reheating Tips
To serve your brownies again, use the microwave. Heat them for about 10-15 seconds. This warms them up without drying them out. You can also serve them cold right from the fridge. They taste great either way!
FAQs
Can I use dark chocolate instead of semi-sweet?
Yes, you can use dark chocolate. Dark chocolate gives a richer taste. Just remember, it is less sweet. Adjust the sugar in your recipe if you prefer a sweeter brownie.
What can I do if my mousse doesn’t set properly?
If your mousse doesn’t set, it may need more chilling time. Check the fridge for at least two hours. If it’s still soft, try adding more whipped cream and mix gently. This can help thicken the mousse.
How can I make these brownies ahead of time?
You can prepare the brownies and mousse a day in advance. Bake the brownies, let them cool, and add the mousse. Store them in the fridge. Just remember to cover them well to keep them fresh.
Can I make the mousse without sugar?
Yes, you can make mousse without sugar. Use a sugar substitute like stevia or erythritol. Make sure to adjust the amount based on the substitute’s sweetness level. You can also use cocoa powder for added flavor.
Is it necessary to chill the brownies after making?
Yes, chilling is necessary for the mousse to set. It helps create a smooth texture. Plus, it makes the brownies easier to cut into squares. Enjoying them cold is also quite refreshing!
You learned how to make rich, delicious brownies topped with airy mousse. We covered the ingredients needed, tools required, and step-by-step instructions to guide you. Key tips helped ensure success, including mixing methods and presentation ideas. Remember, you can customize the recipe to fit your taste or dietary needs. Whether you bake these for yourself or share them, they will impress. Enjoy creating and sharing these treat